Polaroid-style photo challenge
Phoho Style
Polaroid-style photo challenge
Try your hand at Polaroid-style photography.
Displaying actual Polaroid photos on the web requires scanning or taking Polaroid photos with a camera, and it is difficult to improve the quality, so here we explain how to make photos taken digitally look like Polaroid photos.

Polaloid-style
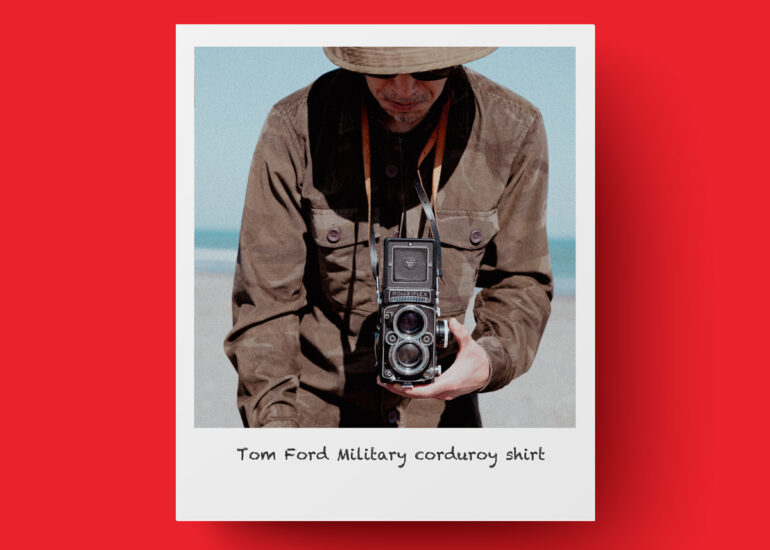
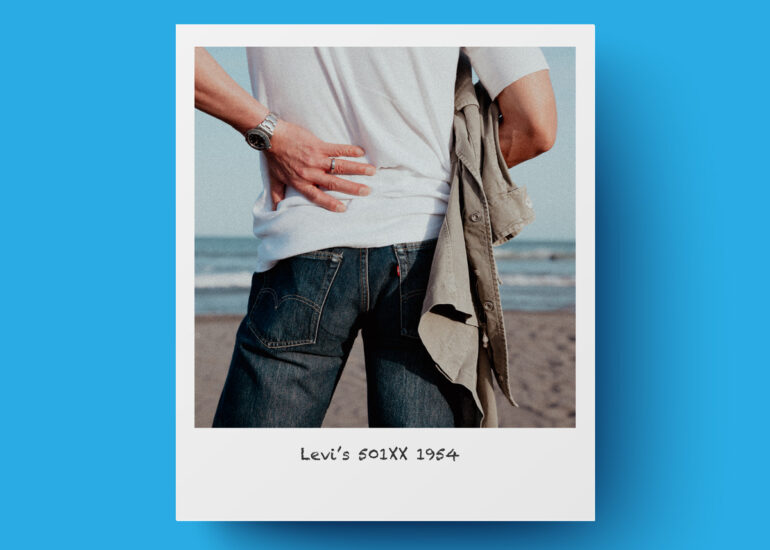
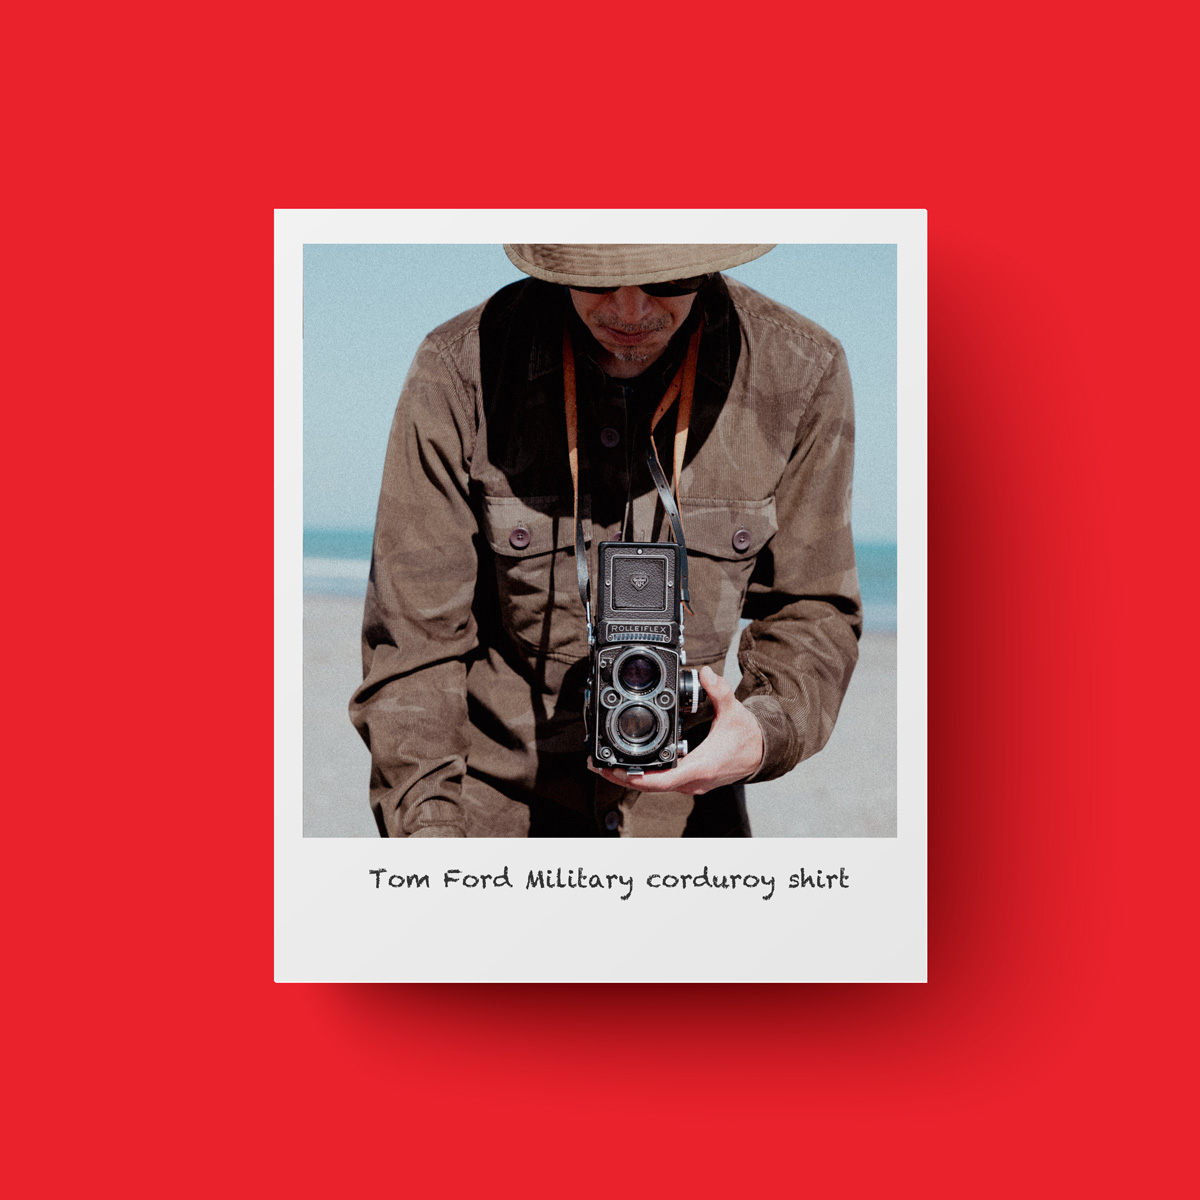
The photos are processed into squares using Adobe’s Lightroom Classic and placed in Polaroid-style frames. There are many great Polaroid-style frames available in stock galleries such as Adobe’s Stock and Envato, so it’s a good idea to use those. Adobe Stock and Envato are free, but if you subscribe to the paid version, you will be able to find a lot of high quality material, so if your budget allows, I recommend the paid version. I try to use the paid versions as much as possible to show respect to the creators, because using the paid versions means that the creators are paid and their work is respected.
Polaroid-style photographs with the back colours red, yellow and blue, in that order. This colour sequence is the sequence of traffic lights, and such playful elements can be incorporated into a website.

How to make a Polaroid style
This style is very simple.
Polaroid-style image templates for background use.
You can find these templates on Adobe Stock and Envato.
Resize this template to a size that is easy to process. I resize it once to 4000px square.
This is done in Adobe Photoshop.I put the photo inside the Polaroid, but this time, as it is a Polaroid photo, I process the colour and tone of the photo to a colour negative film style. As the Polaroid style template photo is square, the photo is processed into a square.
This is done using Adobe’s Lightroom Classic.
Once the photo has been processed here, it is exported as a jpg file.
The important thing here is the size of this photo.
The size of the Polaroid template provided in Photoshop is 4000px and the actual size of the place where the photo will be placed is 1970px square, as measured simply with the mouse.
The area of the template where the photo is to be placed is a single grey colour, and if you insert an image smaller than 1970px, this grey colour will be displayed, so you need to make the size larger than 1970px. However, the best size for photos inserted into the template is 1970px, so I use 1980px square photos because it is more balanced if this size does not change too much.
The lightroom is exported, but in 1980px square.
From here, the work is done in Adobe Photoshop.
Open the template you have just resized to 4000px square size in Photoshop.
This template is treated as a background in a layer in Photoshop.
Next, open the 1980px square photo created in Lightroom in Photoshop.
Select and cut this entire photo with the selection tool.
Go back to the template file and create a new layer.
Paste the photo you have just cut into this new layer.
The image file will appear in the centre of the 4000px square file as the 1980px square file overlaps the 4000px square file.
In this state, the position of the Polaroid photo and the position of the inserted photo are not aligned, so correct this.
The horizontal position does not need to be corrected because the photo is in the centre.
To move the photo at this point, refer to the X and Y axes displayed in the Move tool in Photoshop.
The X-axis is the horizontal value in px from the left edge and the Y-axis is the vertical value in px from the top edge.
As mentioned earlier, the template photo is set up as a 1970px square and the horizontal axis is centred and reads a 1980px photo, so there is no need to modify the horizontal axis.
The vertical axis is measured with the mouse to see how much the photo is offset slightly above the centre. In the case of this template, the photo is positioned 812px from the top edge, so by setting this to 812px, the photo will be positioned in the Polaroid style photo posting position.
For reference, the px of the placement is explained as
If you place a 1980px photo on a 4000px background, the photo will be placed in the centre.
The number 1010 is obtained by dividing 4000-1980=2020 by 2. This 1010px is the value of the X-axis and Y-axis. This means that the photo is placed 1010px from the left edge and 1010px from the top edge.
The horizontal axis is OK as it is centred and placed at the position of the photo on the Polaroid template.
The vertical axis is positioned below the photo position on the Polaroid template and should be corrected here. This correction value is 812px, which is offset slightly above the centre point of 1010px.
Insert text into this picture.
Photoshop has a tool for inserting text, so use it. Select the Text tool and insert the text you want to include, such as a title, here. Once you have entered the text, use the selection tool to move the text area to where you want it to be placed.
You can also adjust the text here strictly by using numerical values such as px, so you can adjust it to your liking, whether it is roughly by feel or strictly by numerical values.
You can now create the Polaroid-style photo you have just created.
Now it is time to export the image to the size you want to use on your website.
Saving this series of work as a PSD file is convenient because you can use it as a template by simply overlapping and drawing out the photo in layers once you have created it.
If you are interested, try it!
This explanation may be difficult to understand due to the length of the document, but we hope it has been helpful. I would like to find the time to make the explanation a little easier to understand, and I would like to publish it if I have the opportunity to do so.
Polaroid-style photo challenge
Phoho Style Polaroid-style photo challenge Try your hand at Polaroid-style photography. Displaying actual Pola
Rolex GMT-Master (1675 1964)
Production notes and photographs. If you like the photos on this page or in the gallery, take a selfie and mak
Brunello Cucinelli Field jacket
Production notes and photographs. If you like the photos on this page or in the gallery, take a selfie and mak

Copyright © 2026 Hooked-on. All Rights Reserved.
This site is protected by reCAPTCHA and the GooglePrivacy Policy and Terms of Service apply.